

If you’ve ever used Microsoft’s Power Platform suite, you might have seen “Dataverse” and wondered what you could do with it. Dataverse is Microsoft’s secure cloud data storage platform that can be used in conjunction with Microsoft’s Power Platform suite, including Power BI, Power Automate, Power Apps, and Power Virtual Agent.
Any company looking for a secure and adaptable storage platform that is well integrated with the Power Platform suite should consider using Dataverse.
In this post, we’ll explain why Dataverse is important, explain how to use Dataverse, and provide a couple of tips if you’re new to Dataverse.
What is Dataverse, and Why Does it Matter?
Microsoft Dataverse is a Microsoft-created cloud-based storage space that businesses can use to store data securely. Dataverse allows you to store and manage data securely while maintaining ease of use and accessibility.
Data is stored in a set of tables. Each of these tables consists of a set of rows (also known as records) and columns (also known as fields/attributes). Each column in a table can store a certain data type (Ex. Name, Age, Email, Telephone Number, etc.).
Microsoft Dataverse provides the ability for a business to store its data in a secure and manageable platform that is well integrated with the rest of the Power Platform suite as well as other platforms to allow ease of use, administration, and accessibility.
How to Use Dataverse
Accessing Dataverse
To access Dataverse, go to make.powerapps.com and login/sign up with your school or organizational account. Dataverse does not allow signing up with a personal, .gov, or .mil emails.
After having logged in, on the left-hand pane, click on “Dataverse,” which will cause a drop-down to occur. In the drop-down, select “Tables,” and we will go through creating a new table.
Creating a Table
At the top, there will be an option to create a new table. Go ahead and select that, and you will be greeted with a form on the right-hand side to begin creating your table.
The “Display name” input will be the name given to your new table and will be referenced when referring to the table. The “Plural display name” will be autogenerated and the same as the display name but in a plural form.
The “name” section will also be autogenerated and the system name that Dataverse will use internally. This cannot be changed once it has been created, so take the time now to decide what you want the name to be if it needs to be changed.
In the “Primary Name Column” section, you will create your primary name column. For the “Display Name” input, enter a name you want to call your column. After doing so, the “Name” section will be autogenerated and is used by Dataverse internally, just like above.
Like in the previous section, the “Name” attribute cannot be changed once it has been assigned, so take the time to review it carefully. Everything else in the settings can be left as is. Unless you need some of these features, you won’t have to change their settings. A blog going over more advanced Dataverse features will cover these topics. Below is an example of an Orders table being created.
Creating Columns
Click on the newly created table to customize it and add necessary columns. When adding columns, you will be asked to give a name for the column, the data type that you would like the column to be, and whether or not it is required when creating a new record in the table. You may also add a description of the column to help other developers identify the purpose of the column and the value that it provides.
You have now created a table that can store information such as invoices, orders, transactions, etc. The table will be accessible in many of the other Power Platform tools such as Power BI, Power Automate, Power Apps, etc. Dataverse can be used as the connection source for each tool to help store and maintain records and information.
Creating Relationships
Table relationships define how rows from one table relate to rows in another table. There are two types of relationships, one-to-many and many-to-many. In a one-to-many, one row from a table can relate to many rows in another table. In many-to-many, multiple rows from one table relate to multiple rows in another table. Generally, it is standard practice to avoid many-to-many relationships where possible.
In order to create a relationship between two tables, select a table and click on the “Relationships” tab and click on “Add relationship” in the top left. You will be presented with three options, “Many-to-one”, “One-to-many”, and “Many-to-many”. The left side of the relationship will be the currently selected table. Choose the option that best suits your needs.
Once an option is selected, you will see a pane pop up on the right side of the screen. For this example, we will show a One-to-many relationship. It will show the currently selected table on the left side with its cardinality, and you will be able to select the table you want to create a relationship with on the right side (you will also see this table’s cardinality as well).
The “Lookup column display name” and “Lookup column name” will be pre-populated with the name of the current table. If this is the correct name of your column in the related table, you can click done and save the table. Otherwise, input the correct name for the column. You will now have a relationship created between the two tables.
Use with Power BI/Power Apps
Dataverse can be used in conjunction with Power BI and Power Apps. An example of Power Apps being used with Dataverse would be if a company wanted to create a Power App with which a user could create orders for customers that would then be stored in a Dataverse table.
Additionally, a company could also add Power BI to the previous scenario, and create a report connected to the Dataverse to get insights on their data and use the tool to better help make business decisions.
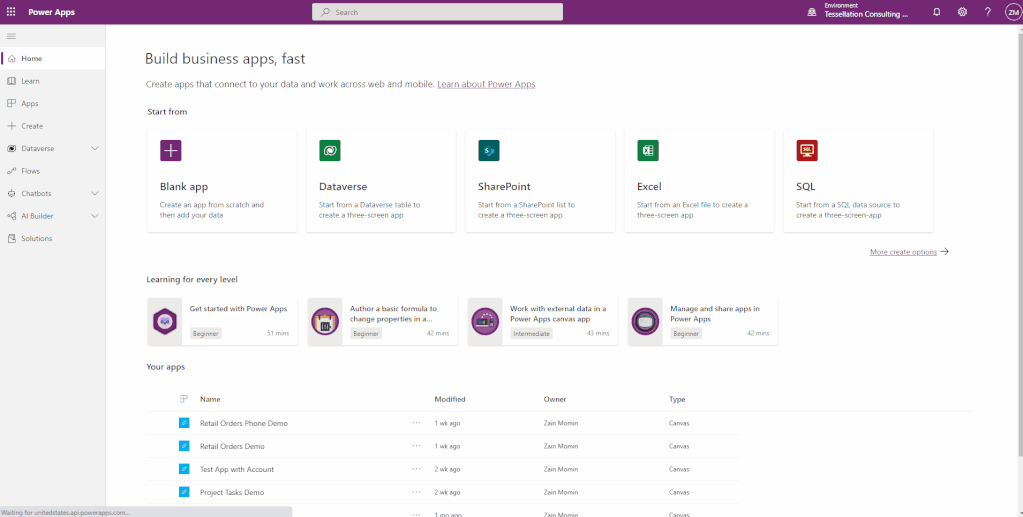
Here, we will show you a step-by-step process on how to connect to Dataverse in Power Apps.
First, you will need to go to make.powerapps.com. After which you can click on “Create” in the left-hand pane. You will be given a few options for your connection source or if you would like to create it from blank. We will go ahead and choose the Dataverse option.
After that, you will be shown a connections page from which you should select “New Connection” and scroll down and select Dataverse. It will then ask you to select the table that you are wanting to connect to from your Dataverse environment.
After having selected the correct table click on “Connect” at the bottom right and Power Apps will automatically create a three-page app as a starter for you to use as a foundation when creating your app. Below is an accompanied gif to follow along with.
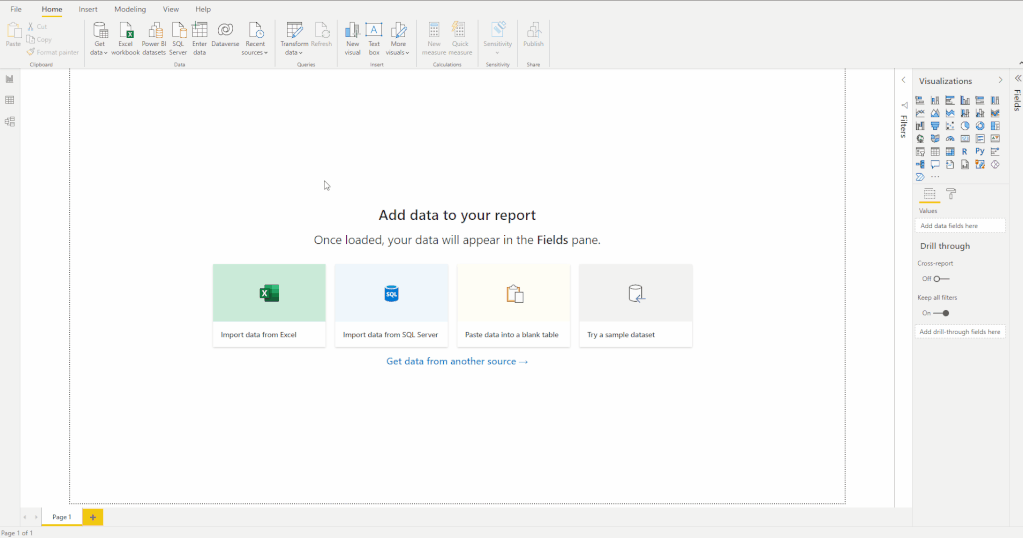
Now, we will show you step-by-step how to connect to Dataverse in Power BI.
First, open up a new instance of Power BI Desktop. Once open, select “Get Data” under the home tab. From the drop-down, select Dataverse. A window will pop up with all the environments that your account is associated with.
Go through the folders until you see the table(s) that you want to bring in. Select your desired tables and select “Load”. It will then ask if you want to import or direct query. For this example, we will import. It will then begin to load in your data and you will have your selected table brought in for you to build Visualizations from.
Below is an accompanied gif to follow along with.
Right here I put in a use case of how you can connect to the Dataverse using Power BI or Power Apps. Essentially this will be a very quick use case with screenshots or gifs to show how the data in Dataverse is used.
We have detailed very thoroughly what Dataverse is, now let’s show a real example of how to use it.
Tips and Reminders for Dataverse
- If you are creating a column to be used as a unique identifier number (Ex. Invoice No., Order No., Transaction No.), you can switch the data type to “autonumber” which will allow for the next number in the sequence to be automatically generated when creating a new record within the table.
- When creating new columns, try to add a description for the column in the description box explaining what the column is and what value it provides if it is not already well known. This can help other developers get a better understanding of the data.
- Dataverse is most powerful when used in conjunction with the rest of the Power Platform suite. It allows for greater control and functionality of your data and apps.
Conclusion
We have gone through how to create tables in Microsoft Dataverse and customize them with columns to create a relational database that can be used throughout the Microsoft Power Platform and other tools. Microsoft Dataverse is a strong tool to help store and maintain your data and have it customized the way you want it to suit your needs.
To learn more about Microsoft Dataverse, advanced features, and the Microsoft Power Platform, please check out our other blogs.
FAQs
You can use Power Automate to create flows with which you can create new records in your tables, edit existing records, or simply just view the details of specific records. This combined with a Power Virtual Agents chatbot, can make for an exceptional and friendly end-user experience when dealing with customers, employees, users, etc., who need to change their personal account information.
When you are using the power platform suite, tools such as Power BI, Power Apps, Power Automate, etc., will have the option to choose Dataverse as a connection with which you will be able to choose specifically which table(s) you would like to connect to. With the connection to the Dataverse environment you will be able to create new records, load information for analytics, create automated flows for data retention, or whatever it is that you are trying to accomplish with the use of these tools.
No, Microsoft Dataverse is not free. You will need to purchase a Premium Power Apps or Power Automate license. Licensing prices vary from $5 – $20 depending on the subscription plan that is chosen. However, if you just want to try out Dataverse, there are two free options available to you.
The first option is to sign up for a 30-day trial which will give you the Power Apps per user plan for 30 days. This will allow you to explore the capabilities of Dataverse and its functionalities. The second option is signing up for a Developer Plan, with this you will be able to explore Dataverse just as you would with the trial.
However, you cannot use it to deploy or run solutions in a production environment for production use and there are capacity limits of 750 flow runs a month and a 2GB database size. One of the benefits of the developer plan is that it does not expire as long as you do not reach the capacity limits and it is not used for production purposes.
Yes, Microsoft Dataverse does come included with Microsoft 365, however, it has many limitations. The included service allows select Microsoft 365 applications to access Dataverse in order to store application data and use the underlying business logic tier as part of extending application capabilities. However, if your needs include creating instances within production or sandbox environments you will need to purchase a premium Power Automate or Power Apps license.


